This is how me and my group organised the video clips for our project. This blogpost is made by Bagas.
We used our whatsapp group as a way to compile all the clips together ,since we recorded using different phones. After it's compiled I will then download and organise the files on my desktop using file explorer. There is where I categorise the clips according to its location such as school and its bagus’s house.
Advantages of using whatsapp:
Easy to connect and send
We can discuss things as we send
Being in a group allows all of us to view the clips
Advantages of using file explorer
Does not require an internet connection
Easy to access
Labeling feature makes it easier to locate video clips
Disadvantages of using whatsapp
Requires an internet connection
Quality decreases when we send in whatsapp
Disadvantages of file explorer
The amount of things you can put in depends on how much storage you have on your laptop, so if your laptop is full then the less amount of video clips you can put in
Organising the file was the work of all of us but the blogpost was made by bagas. We try to send everything we recorded on that day in order to not confuse the editor. This will also help when trying to sort out which scenes comes first in the music video and could align with our storyboard to make sure which scene should be first and which scene goes next.
This post includes pictures of our behind-the-scenes that will show each team member's tasks (roles) in each scene. This post was made by Saka, Bagus, and Me.
Nicho setting up a suitable camera angle to film our star’s sad scene
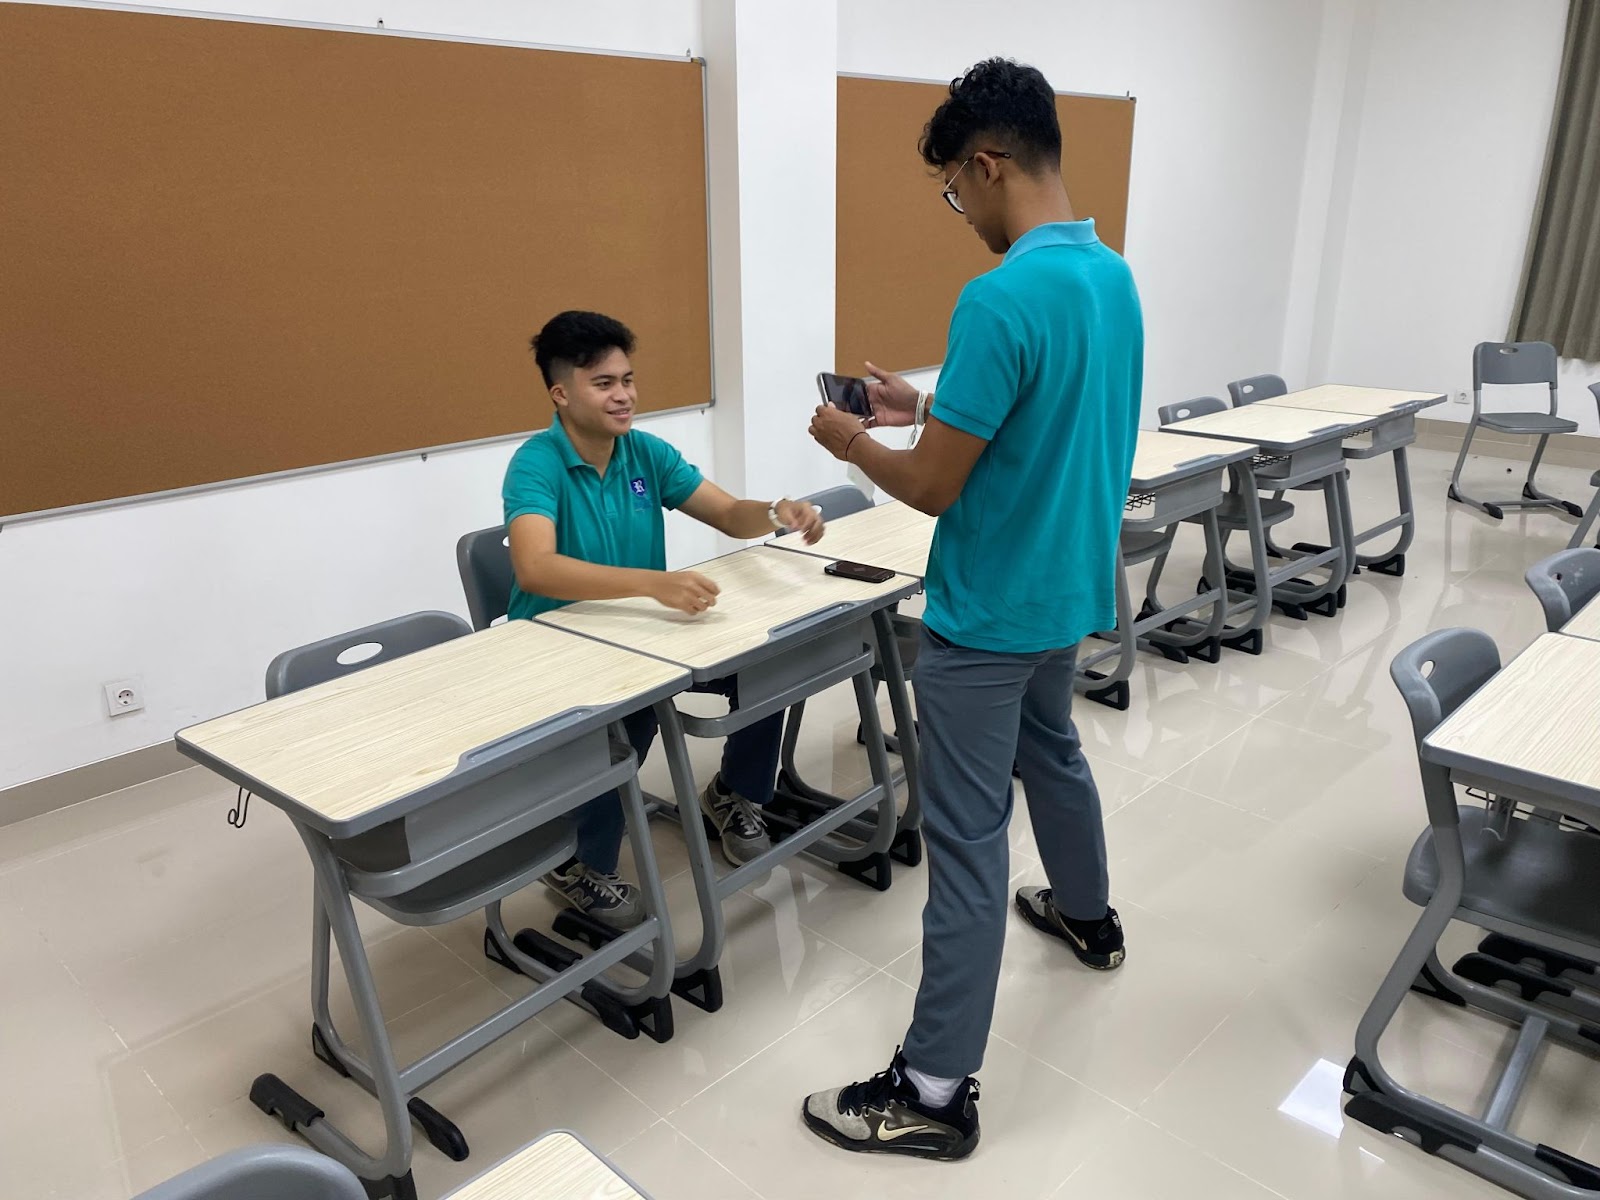
Bagas and Nicho organizing to film the talking scene at school, under the umbrella
All people trying to making the bedroom messy to connote a stressful mood
Bagas getting ready to film our star (Doood played by Bagus) on the rooftop
We didn't have a clipboard so we wrote which scene and the number of takes we were in
Roles:
Bagas: main cameraman
Nicho: the person who did multicam in most of the scenes
Saka: brainstormed and planned, what would happen in the scenes, before filming
Bagus: main actor in all the scenes
Problems:
We had trouble with finding a day where everyone has free time
Our original actor was another girl but she was busy
Weather, rain made it worse for the happy scenes
The sunset was never there
Time management, whenever we scheduled our filming, one of us are always late
Our ball deflated
Solutions:
We tried to do as many scenes as we could whenever all of us were present
We found another girl actor
We try as much as possible to not show the rain
We didn't use a sunset scene
We try to schedule the time we meet to be 1 hour earlier in case anyone is late
We still managed to use the ball, taping the hole and pumped the ball after every scene
I made this post with my teammate Saka. Compiling these photos were quite a challenge as the behind-the-scenes photos used 2 cameras so they were the same scenes, but we took a lot of pictures which makes it easier to finish the blogpost as there were a lot we can choose from. The behind-the-scenes photos were mostly taken by saka as i was helping bagas with filming. The quality of the pictures were not as good but we still manage as whats important is that we have the actual pictures.
This blog includes how i used multicam editing by making a short video of my classmate dancing. My teammates took the raw videos but the editing process i did individually. The teacher also gave the template of the contents.
What is Multicam Editing?
Multicam editing is the process of editing footage of a single scene or subject recorded from different cameras and angles. Showing the same scene or subject from different angles helps make the video more dynamic and visually captivating for your audience
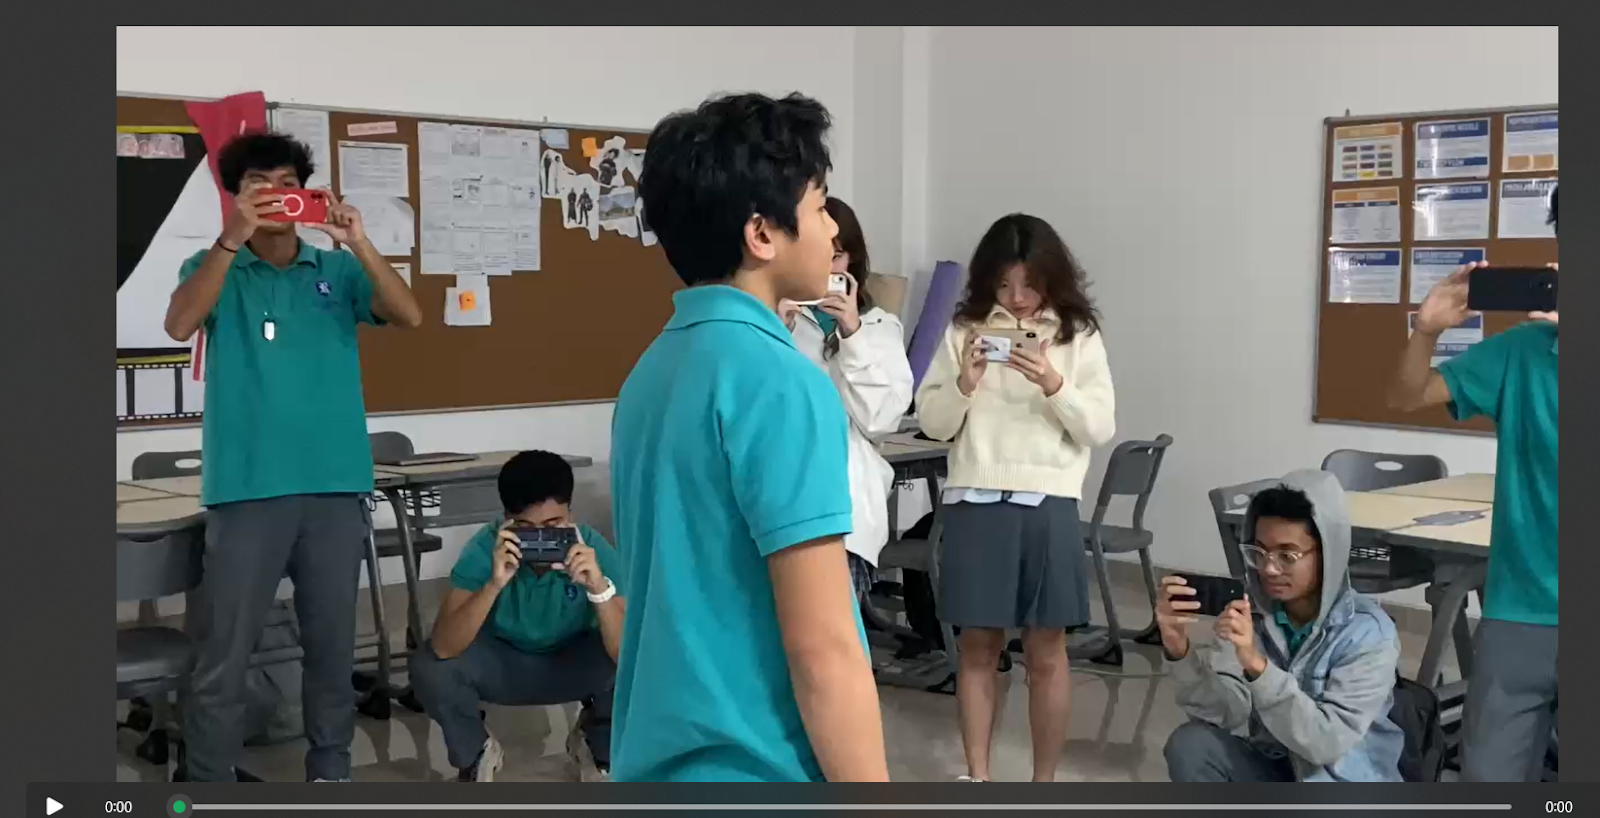
Shooting
Our subject , a classmate, stood in the centre of the room and did a short performance. My group stood around the subject to record the performance from different angles. You can also see members from other groups because we did this lesson as a class. To make it easier to synchronise our cameras, the teacher clapped at the start of the scene. This allowed us to line up the video in the editing process and ensure that the transitions would be smooth. Without this simple action it would have taken a lot longer to sync the videos.
Here are different angles of the raw video clips recorded from my groupmates
My editing process
Upload the videos to the editing software (Capcut )
Detach the clip's audio you wish to use in the final video.
Find the ‘clap’ marker on the audio.
Line up the video files together.
Cut where I want the edit to happen
Don’t delete the clip, just lower the opacity. This way it can be used again later.
Mute all clips except for the one you want to use.
Here is my final edited video:
During this lesson I was absent as i had to attend an emergency family matter so here are the results of what i learnt from what my friends thought me. Editing this video by myself was a bit challenging as when making other projects, the editing process is done by a teammate of mine, making a video and learning how to use the software took quite some time but i ended up finishing what was needed to be done.
This post will contain the production, pre-production behind the scenes and the problems we encountered while making this music video trial. We shot the music video all together and made this post together.
My teacher gave each group a verse from, " Here Comes The Sun" by the Beatles. We had
to plan a scene which included various camera work and edits. The goal was to practice our
lip syncing and editing the video to make it match the song.
Pre Production
Before the process of production, our teacher introduced us to the song that we all have to make a
video with and tasked each group with a single, but different verse. In which they have to make a music
video that involves lip syncing. We were then instructed to create a quick 15 minute storyboard for the
single verse. Originally, we came up with the idea of playing with lighting, making use of our phone
flashlights and revolving it over the main character (Bagus) head to make it more emotional and
suspenseful on the Mise En Scene, but after a long consideration about how the phone camera would
not focus, we decided that it is best for us to create the image that someone progressively getting
happier with more people accompanying the main character who is sad. While the main character
(Bagus) continues singing as more people enters the scene.
Through sound and Mis En Scene, we instructed Bagus to act sad on the first shot while he lip syncs
the lyrics as there is no one accompanying him, with a sad and flat face. But as the lyrics say, "here
comes the sun" the scenes in which one by one of Bagus's friends enter and singing along make him
progressively happier. In the final scene everyone will gather around Bagus while the music goes on,
and he will look very happy and laughing.
~ Storyboard ~
Production
During production, we filmed it in an empty bright classroom. First we used a close up camera angle to
show that the subject has a straight face while singing. Then as the song progresses, we use a
medium shot to show more of his friends singing with him and finally a long shot to show everyone
happily singing together while having a great time. For the edit, we compile the videos and sync it to
the song, which is selecting and arranging the clips,
so that whenever the lyrics ‘here comes the sun’ is heard, it cuts and adds another subject to the scene.
Behind the scenes
Caption: Bagas finding the right angle for the shot
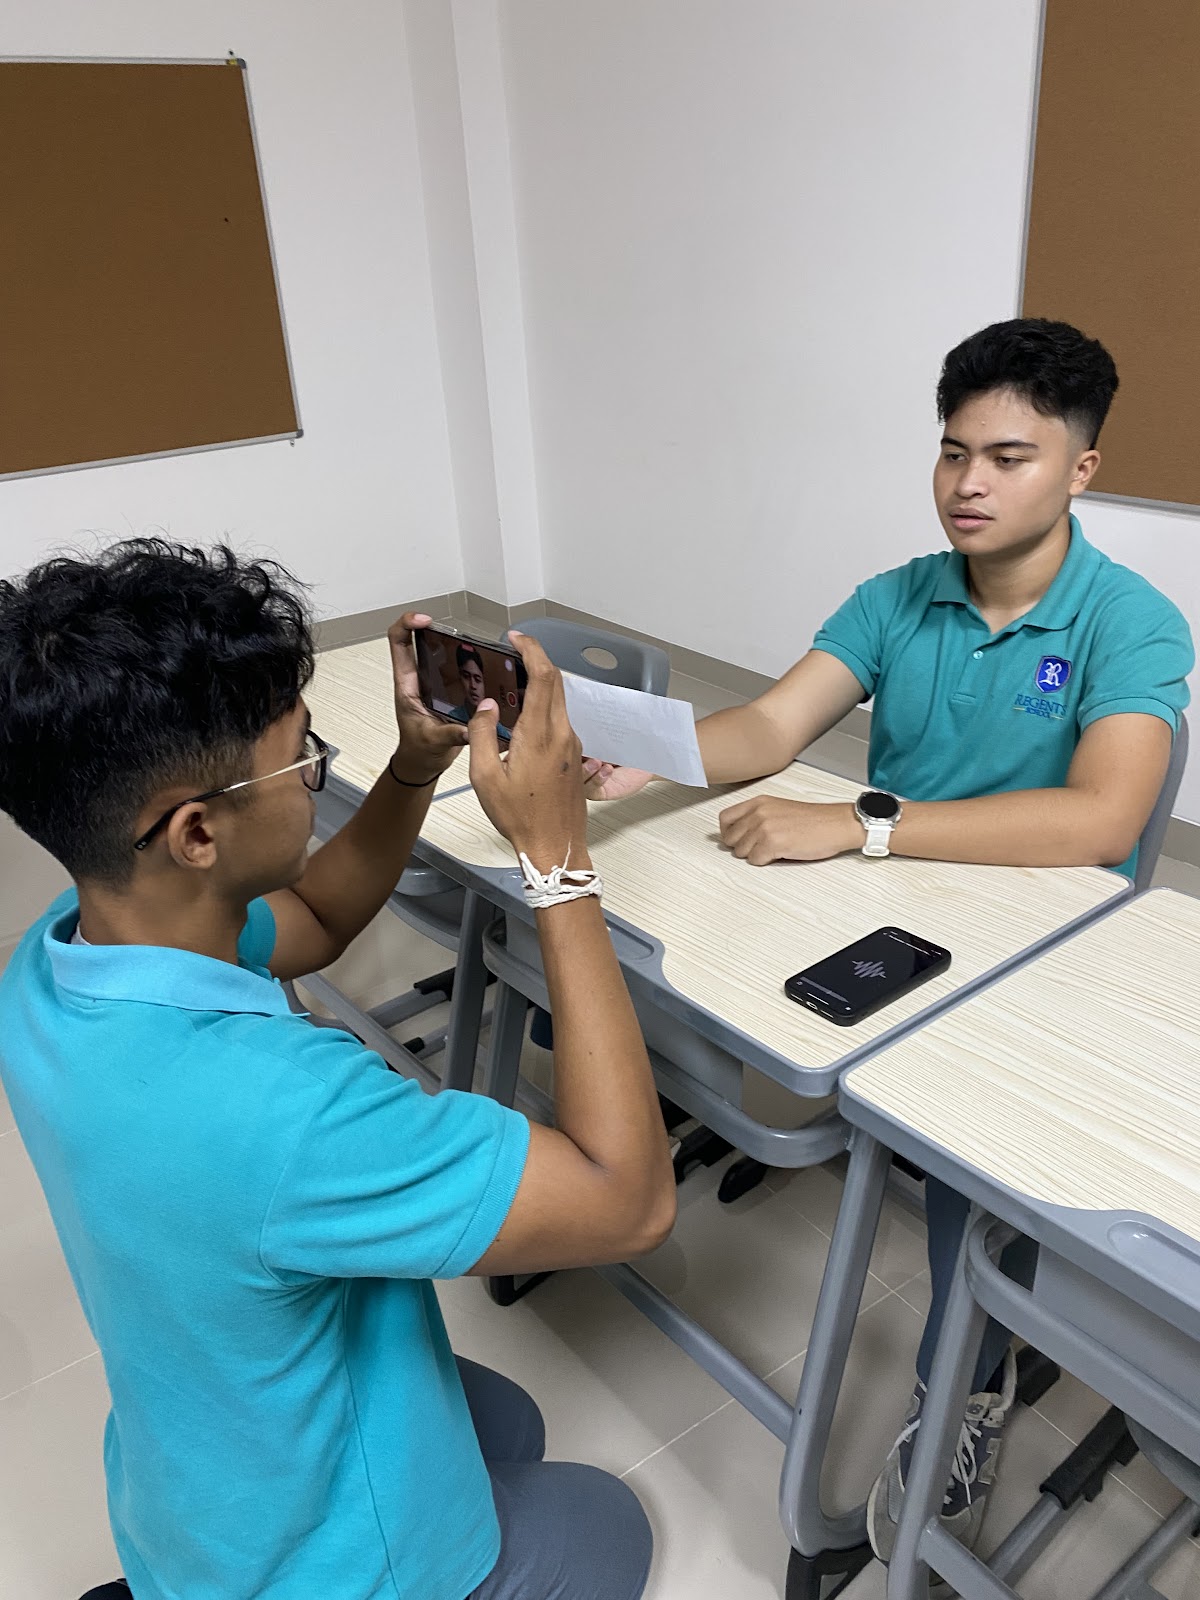
Caption: Bagas recorded Bagus while he tried to remember the lyric of the song
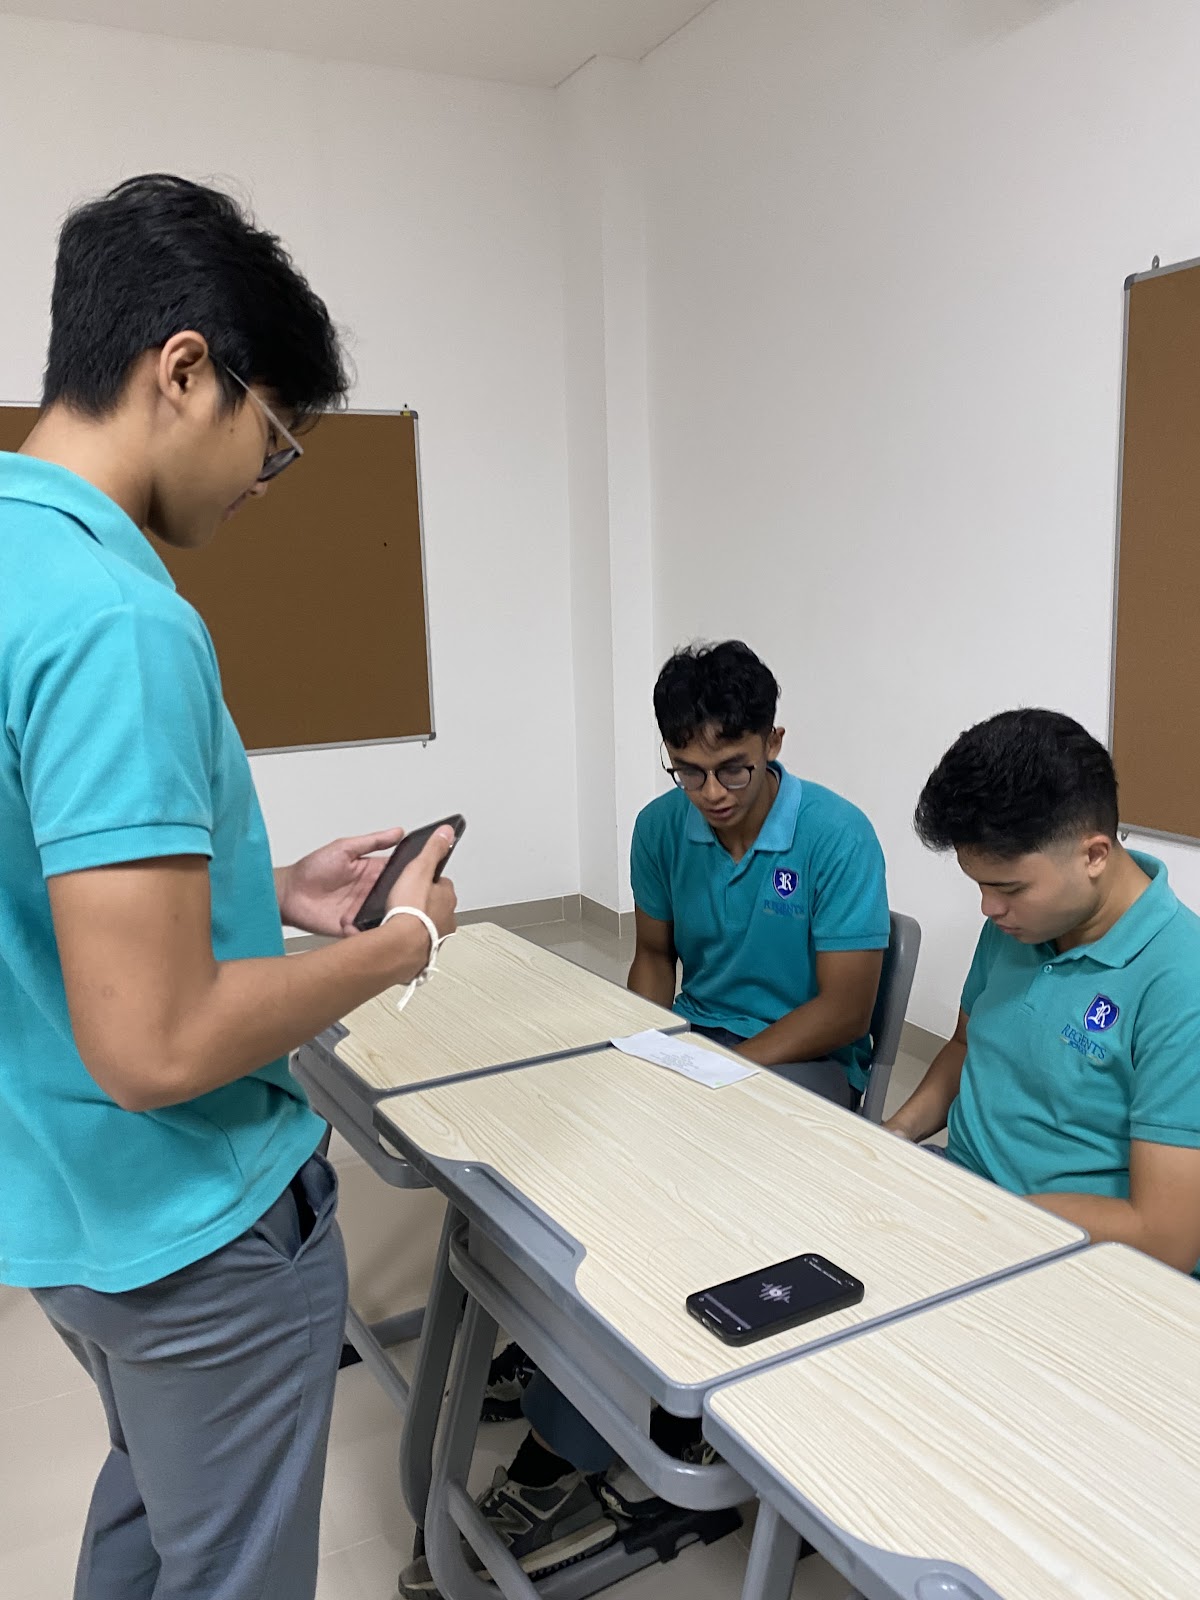
Caption: Saka is about to record Bagas and Bagus singing together
Post Production Final Video
Link to video: https://youtu.be/DlTMBg4JHx0?si=6-_OxVlGfUzqoKaA
Post production comments: We edited the video using capcut, we synchronized the song and the video
recording. Editing process was fairly easy and short as there are no special effects involved, probably
the most challenging part of the work is just synchronising to the music to make it exact. Other than
that everything was fine.
Problem:
We originally wanted to film in a dark room first and used a flashlight to make it seem like
it was the sun. However, after seeing the results, it turned out like a scene from a horror movie
so we scrapped that idea.
Solution:
We record the scene in a bright room and change the idea to a more simpler one which is to friends singing along with Bagus (our star) and he progressively becomes happier.Next
time what to do:
Choose a more simpler plan to do so that we finish filming earlier, can edit as soon as possible and gain feedback from peers.
Self reflection:
In this mini-project, I help with the editing process and planned out the storyboard for our music video.
This task was rather easier as now we are used to these tasks. What could have been improved is how much
time we spent trying to find the right spot and angle. As already said one of our problems was changing the
storyboard due to its lack of connection to the song. The song seems to be happy and cheerful but our first
plan which was to film in a dark room implies that its horror.


.jpeg)